
Dried food is a great way to preserve ingredients for long-term storage while keeping their flavors intact. By removing moisture, foods become lightweight, compact, and easy to store. May it be dried fruits, vegetables, or meats, they make a convenient and best option for everyday cooking.
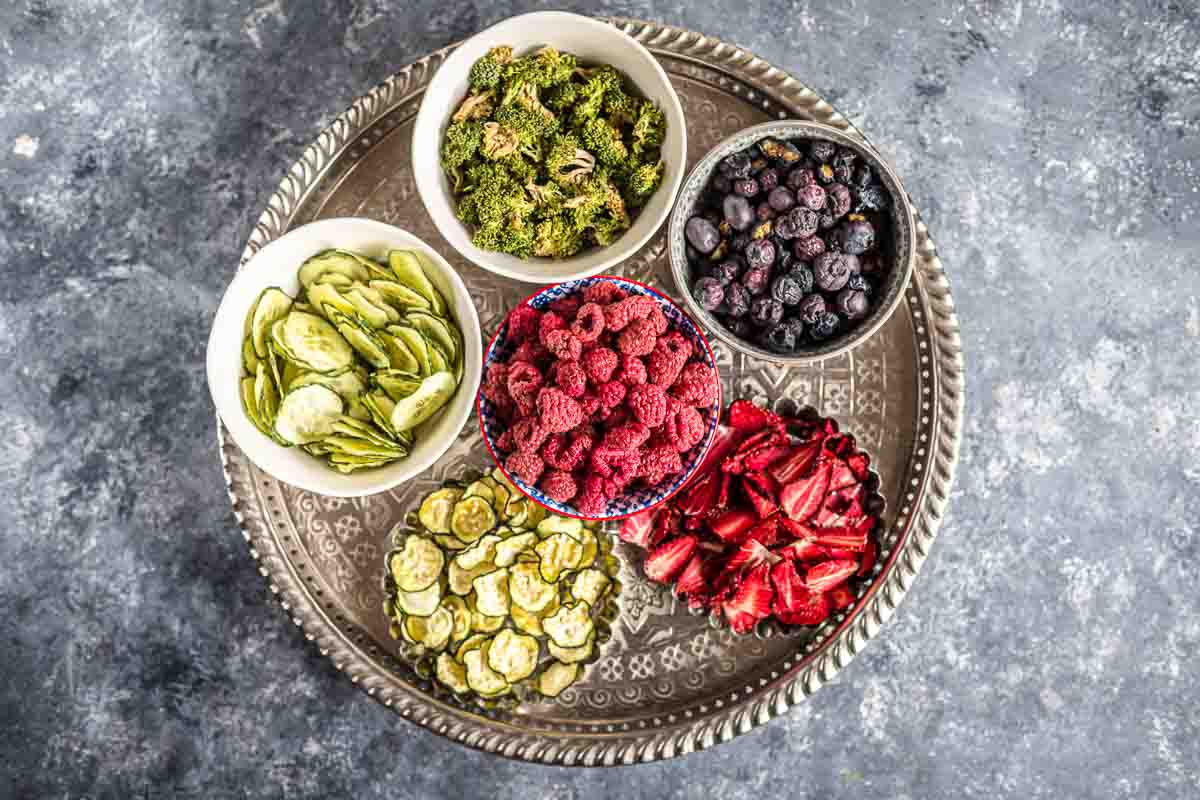
I started small, drying apple slices in the oven, then moved on to herbs, veggies, and even homemade beef jerky. The best part? Not only did I cut down on food waste, but I also ended up with delicious, shelf-stable ingredients that made my cooking even better. Now, my pantry is always stocked with jars of dried goodness, and I love knowing that nothing goes to waste in my kitchen.

Dried Food is Emergency Food
In times of emergency, dried food is a lifesaver because it has a long shelf life and doesn’t require refrigeration. It’s easy to store in bulk and can be quickly rehydrated for meals when fresh ingredients aren’t available. From dried meats to fruits, having a dried food supply secures you’re prepared for any situation.
Pouch for Storing
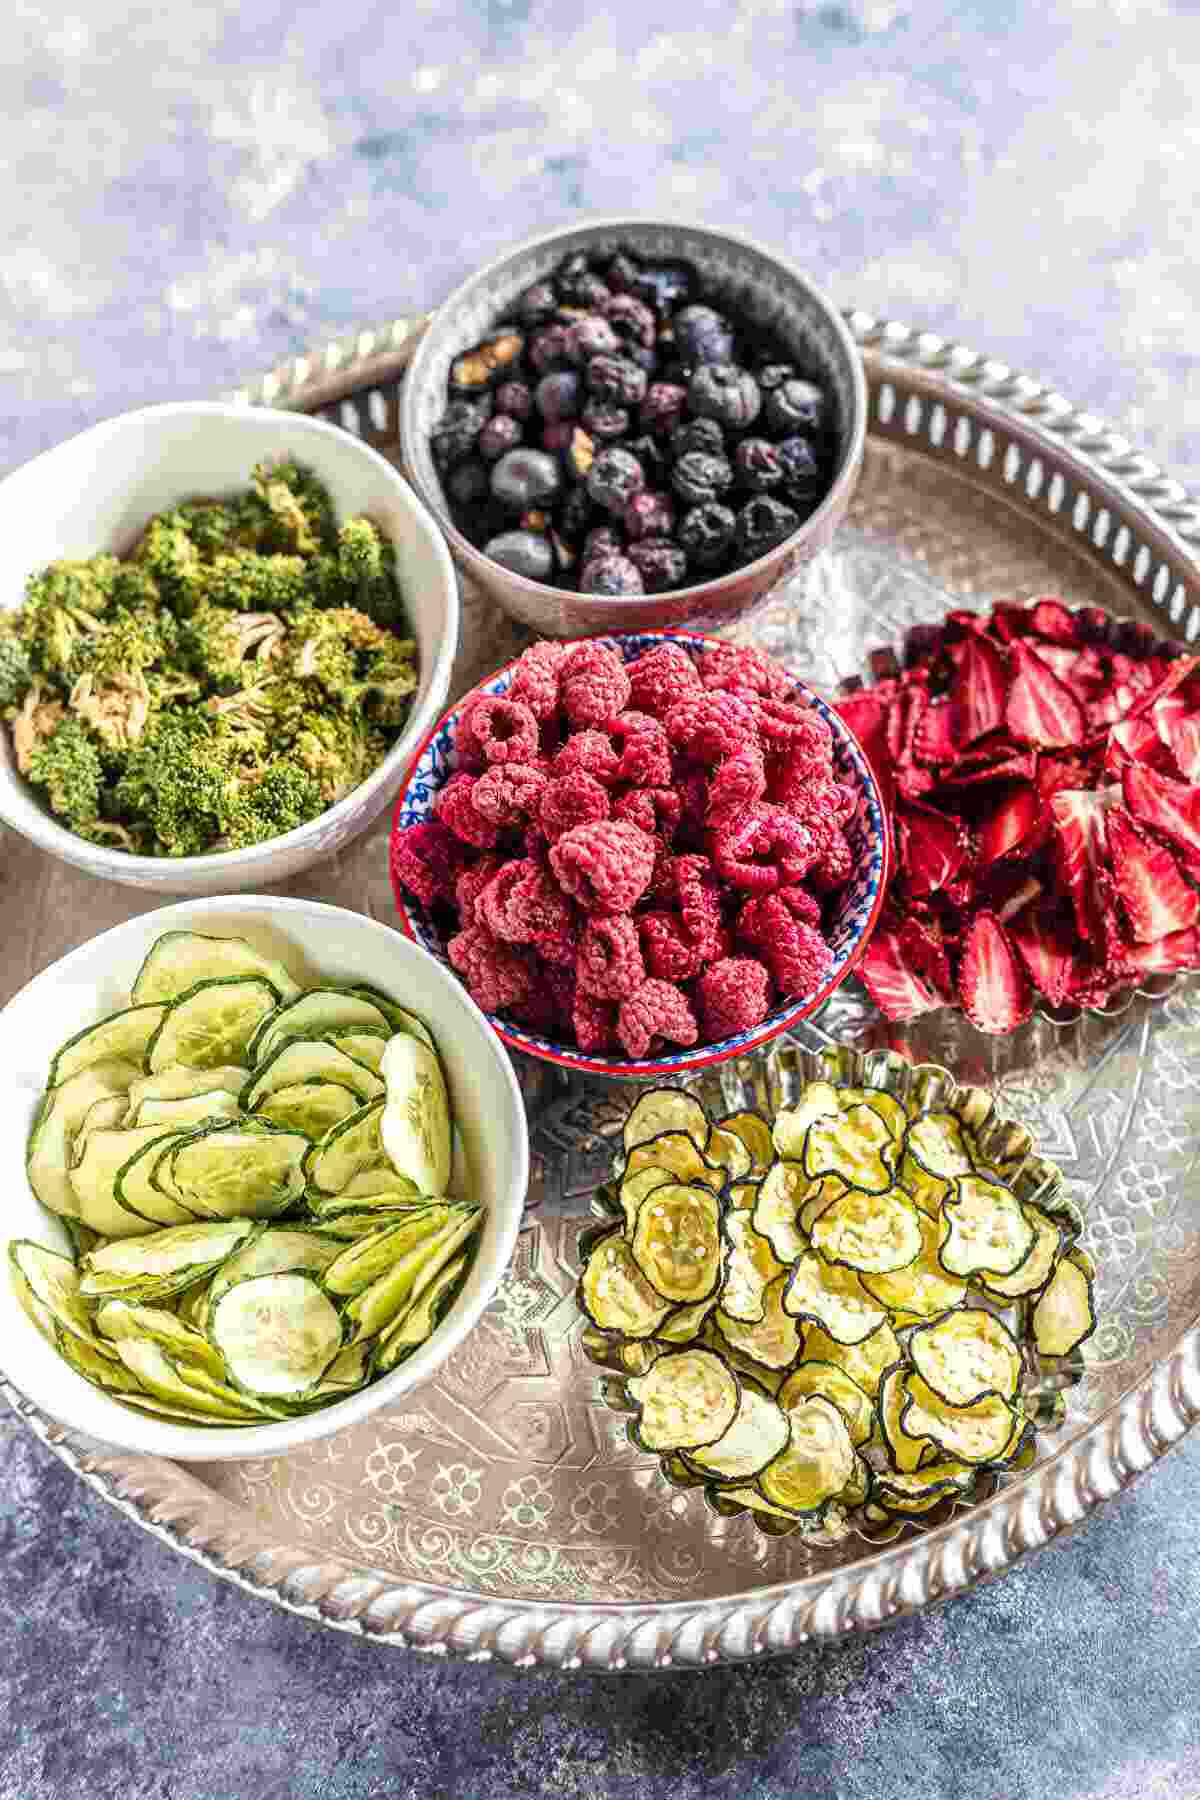
Using airtight pouches to store dried food helps maintain freshness by keeping out moisture and air. Resealable or vacuum-sealed pouches are ideal for extending shelf life and preventing spoilage. Properly stored dried food stays flavorful and ready to use whenever needed. I also like to make powdered hibiscus and homemade almond grounds at the same time with this recipe.
Importance of Dried Food
Dried food is crucial in reducing food waste by preserving ingredients before they spoil. It provides an easy, portable hiking, camping, or emergency preparedness option. It retains most of the benefits of dried foods, making it a practical addition to any pantry.
Your Easy-Peasy Guide to Dry Foods
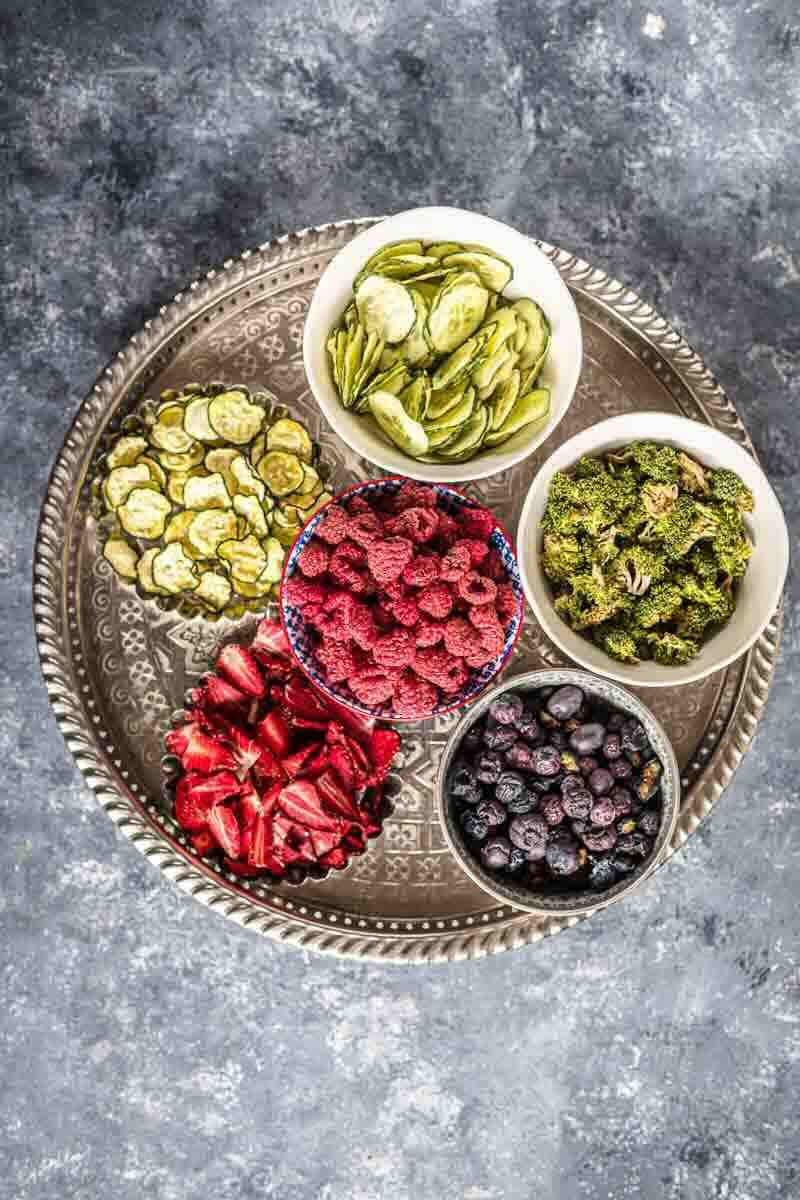
Master the art of drying foods with this simple guide. Preserve fruits, vegetables, and meats for long-lasting flavor, easy storage, and delicious homemade snacks.
Kitchen Must-Haves
- Dehydrator: Essential for drying fruits and vegetables while preserving their nutrients. It uses low heat and air circulation to remove moisture, extending shelf life without additives.
- Mandoline: Gives uniform, thin slices, which is key for even drying. It makes prepping fruits and vegetables quick and easy, saving time in the kitchen.
- Vegetable Slicer: Helps create consistent cuts for better dehydration. It’s great for slicing everything from broccoli stems to berries for more efficient drying.
- Meat Slicer: allows precise, thin cuts of meat for homemade jerky. It ensures even thickness, helping the meat dry faster and more evenly.
Grab these Ingredients
- Fruits: Choose fresh fruits to dry; they will keep their natural sweetness.
- Vegetables: Pick fresh vegetables that hold their shape and flavor when dried.
*Exact measurements are listed in the recipe card below.
Step-by-Step Procedure to Make Dried Food
First: Prepare Foods to Dry
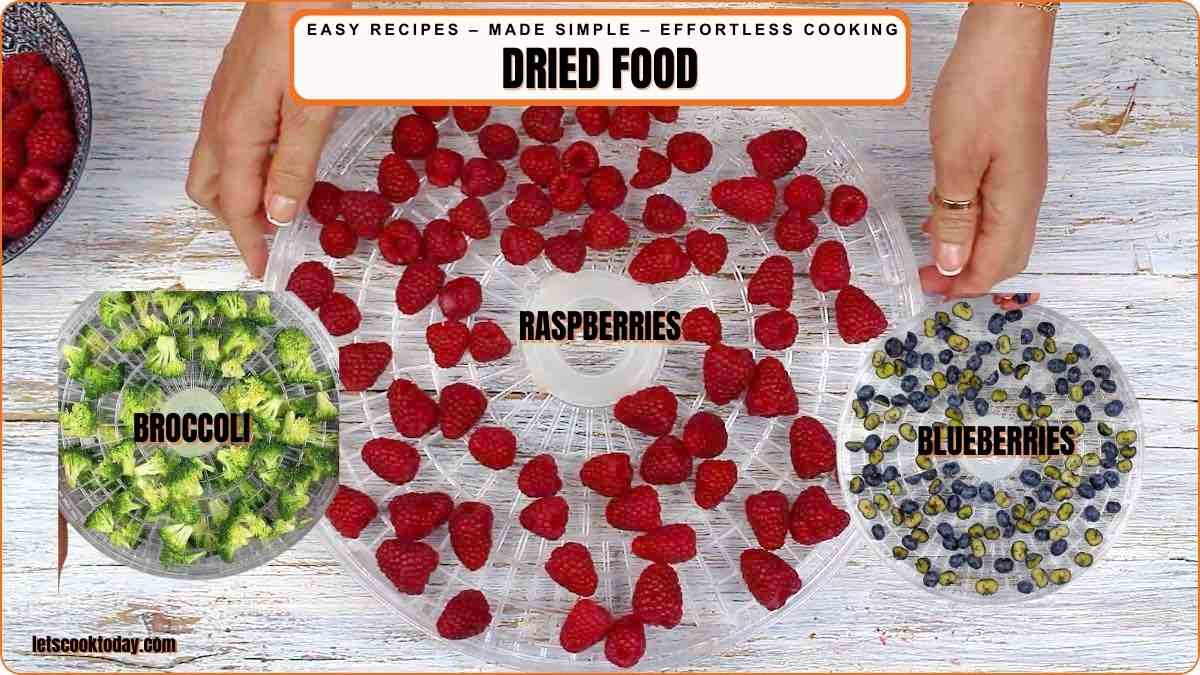
Wash the raspberries, broccoli, and blueberries thoroughly and pat them dry with a clean towel. Trim the broccoli into small, bite-sized florets for even drying. Cut the berries in half, ensuring everything is clean and dry, which helps with consistent dehydration.
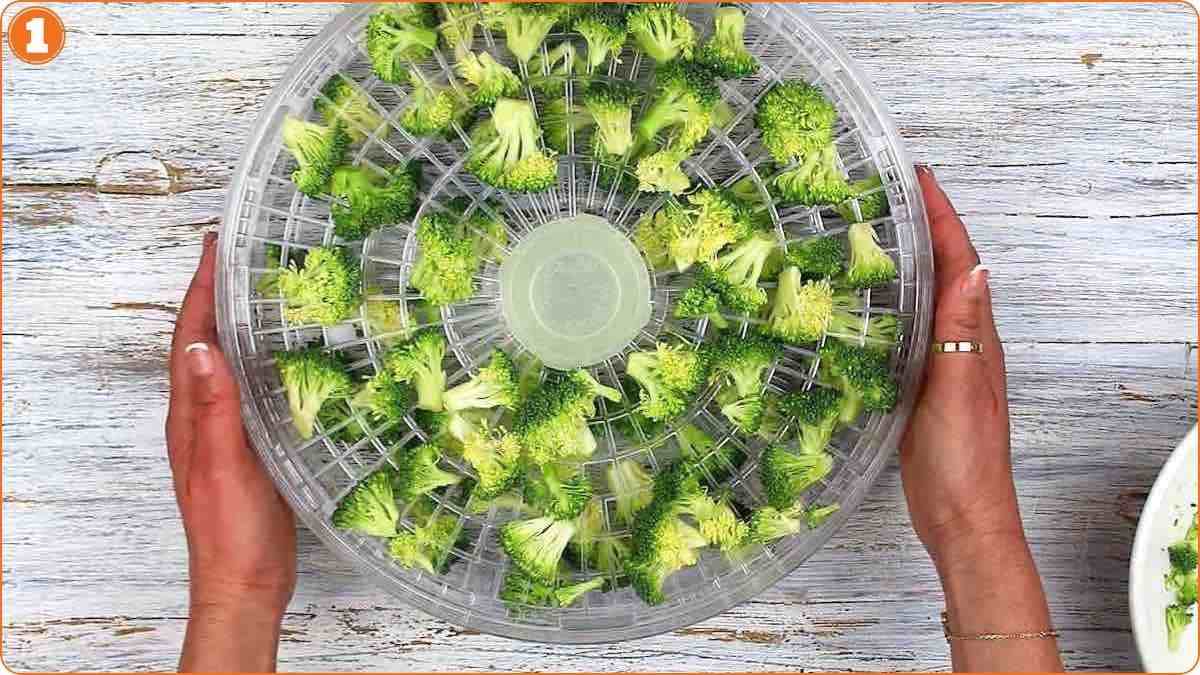
Second: Put the Broccoli on Top of the Drying Tray
Arrange the broccoli florets on a separate tray, spacing them out evenly. Since broccoli has more moisture, it may take longer to dry than the berries. Proper spacing ensures that all pieces dry at the same rate.
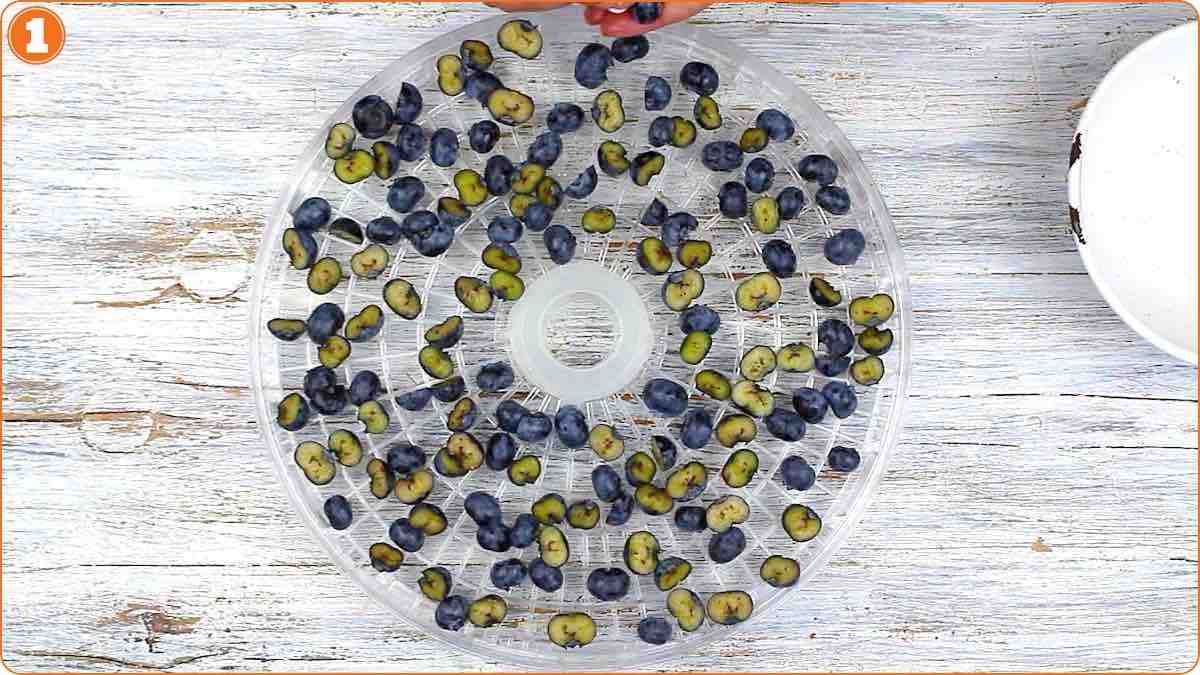
Third: Line Blueberries on the Drying Tray
Place the blueberries on another drying tray, keeping them in a single layer. If desired, you can pierce each blueberry with a toothpick to help speed up the drying process. This step ensures they dehydrate evenly and retain their shape.
Fourth: Dehydrate
Set your dehydrator to the appropriate temperature, 158°Fahrenheit (70°Celsius) for fruits and vegetables. Let the foods dry for several hours, checking periodically for doneness. Once fully dehydrated, store them in airtight containers for long-lasting freshness.

Handy Tips for Tasty Wins:
- Keep it Crisp: Store dried foods in airtight containers to maintain freshness and prevent moisture from sneaking in. Vacuum-sealing works best for long-term storage.
- Maximize Flavor: Pair dehydrated foods with fresh ingredients to bring out their best taste. Try adding dried fruits to yogurt or using dried veggies in soups for an instant flavor boost.
- Storage Matters: Keep dried foods in a cool, dark place to preserve their texture and taste. Avoid humidity, as it can cause clumping and spoilage.
- Freezing for Longevity: Freeze-dried foods last even longer and retain nutrients better. Store them in Mylar bags with oxygen absorbers for the best results.
Your Questions, My Answers
What are the Pairings to Try with Dehydrated Foods?
Dehydrated foods shine when paired with fresh, creamy, or crunchy elements. Think dried apples with cheese, dehydrated mushrooms in risotto, or crispy dried onions over salads. These pairings balance texture and flavor for a satisfying meal.

Store dried foods in airtight glass jars, resealable bags, or vacuum-sealed containers to keep them fresh. Keep them in a cool, dark pantry to prevent moisture and light from affecting quality. Label with dates to track freshness and rotate older batches first.
How to Freeze Dry Foods?
Freezing dried foods helps extend their shelf life while keeping flavors intact. Divide dried foods into small portions before freezing to make using only what you need easier. This prevents repeated thawing and refreezing, which can reduce quality.
More Stress-Free Recipes You’ll Love
If you’re craving easy, flavorful meals that take minimal effort, this lineup has you covered. Imagine crispy onion rings that bring the perfect crunch to any meal, offering a golden, salty bite every time. Enjoy a cup of hot lavender-infused tea, a fragrant and floral drink that brings a calming vibe to your kitchen
Next, dive into an easy orange chicken sauce recipe, where sweet and savory meet in a simple, satisfying way. These three recipes are a breeze to prepare and perfect for any occasion where delicious, stress-free meals are the goal.
Pin and Come Back Anytime
Need Support or have Questions? Join us on Facebook.
Follow us on Pinterest, Instagram, TikTok, Flipboard, or YouTube.
For weekly New Recipes and a FREE E-Book get into our NEWSLETTER.
Get the Printable Version
Show Some Love with a 5-Star Rating
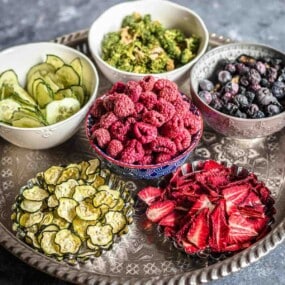
Dried Food Made Easy at Home
Equipment
- 1 Mandoline
Ingredients
- 2 Cups Fruits
- 2 Cups Vegetables
Instructions
- Wash and pat dry all fruits and vegetables thoroughly. Trim vegetables into bite-sized pieces and cut berries in half for even drying.
- Arrange vegetables on one tray with even spacing, as they contain more moisture and take longer to dry.
- Place fruits on another tray in a single layer. Optionally pierce each piece with a toothpick to speed up drying.
- Set dehydrator to 158°Fahrenheit (70°Celsius) and dry for several hours, checking periodically. Store in airtight containers once fully dehydrated.
Notes
- Keep it Crisp: Store dried foods in airtight containers to maintain freshness and prevent moisture from sneaking in. Vacuum-sealing works best for long-term storage.
- Maximize Flavor: Pair dehydrated foods with fresh ingredients to bring out their best taste. Try adding dried fruits to yogurt or using dried veggies in soups for an instant flavor boost.
- Storage Matters: Keep dried foods in a cool, dark place to preserve their texture and taste. Avoid humidity, as it can cause clumping and spoilage.
- Freezing for Longevity: Freeze-dried foods last even longer and retain nutrients better. Store them in Mylar bags with oxygen absorbers for the best results.
Nutrition
Disclaimer
Please note that nutrient values are estimates only. Variations can occur due to product availability and manner of food preparation. Nutrition may vary based on methods of origin, preparation, freshness of ingredients, and other factors.
more snack options
More snack options can keep things interesting while staying simple and satisfying. Try cheese and crackers, fruit with yogurt, roasted nuts, veggie sticks with dip, popcorn, mini sandwiches, or quick no-bake bites.