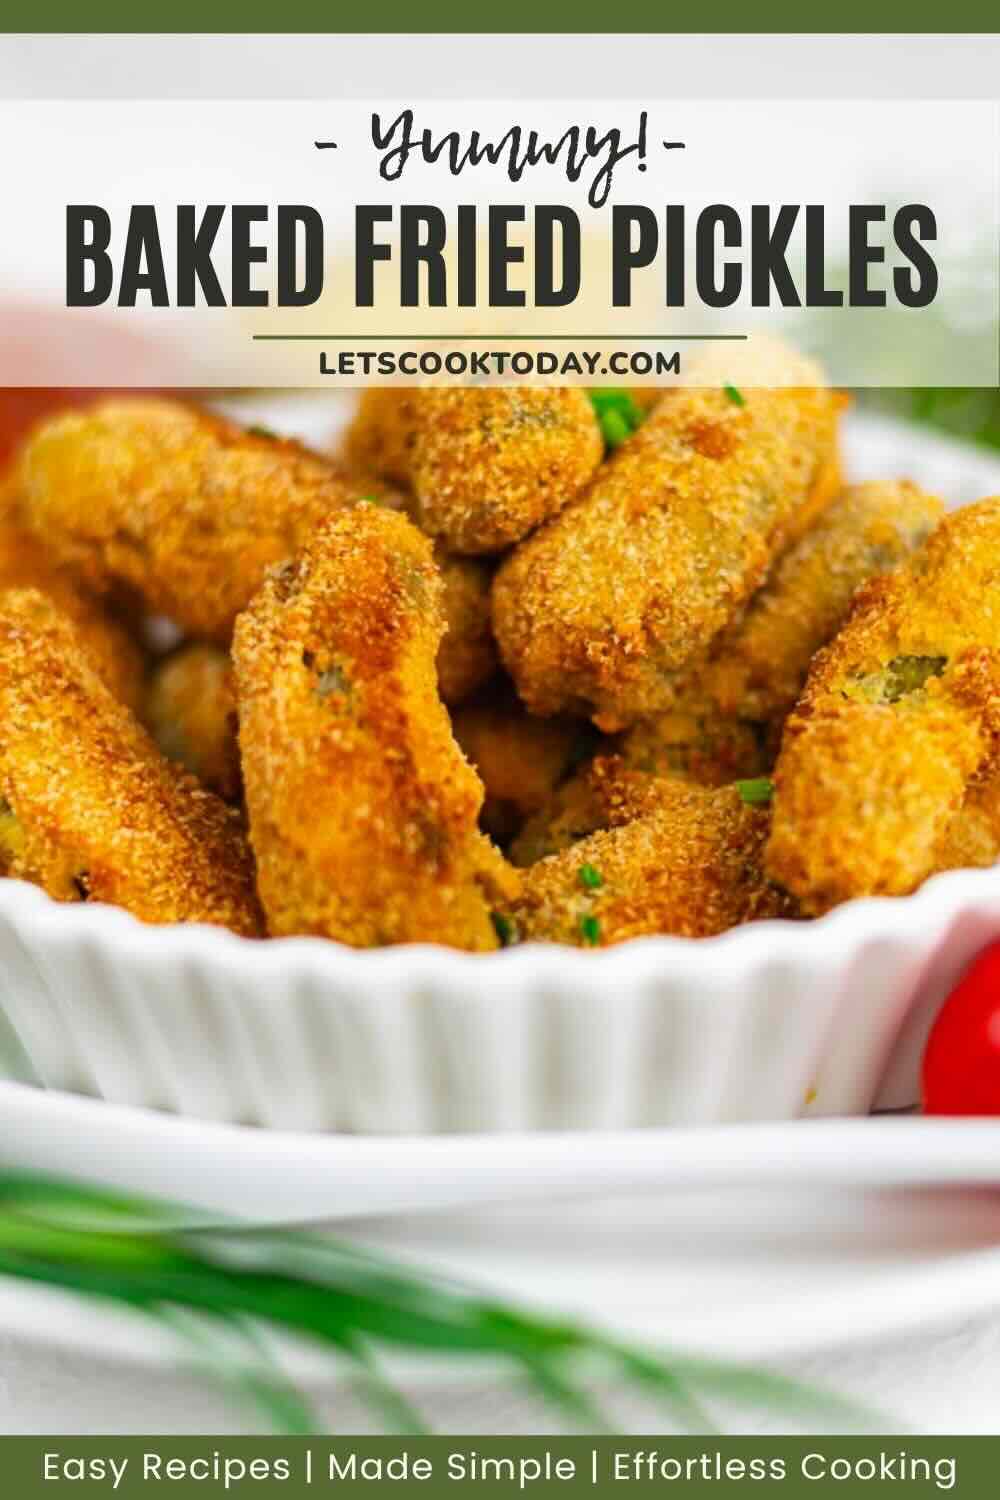
Ever wish you could get that fried pickle crunch without pulling out the deep fryer? These baked fried pickles give you all the tangy, crispy goodness of the classic appetizer, but with a lighter twist. Perfectly crunchy and snackable, no messy oil required.

It all started when I had a jar of pickles sitting in the fridge and no plan for them. I wanted something fun, crunchy, and a little unexpected, so I decided to try baking fried pickles instead of frying. Now, they’ve become my favorite quick snack for movie nights and lazy weekends.

Party Appetizer
These baked fried pickles are always a hit at parties and gatherings, together with marinated pork cutlets with onion, pan-fried chicken, or shrimp in air fryer. They’re easy to serve and fun to eat like dried foods, especially with a good dipping sauce on the side. Guests love the mix of crunchy coating and zesty pickle flavor.
Perfect for Snacking
They make the perfect snack when you want something salty, crunchy, and quick to prepare. You can bake a batch while you relax or watch your favorite show. They taste just as good as fried ones, but feel lighter and less greasy.

Best Type of Pickle to Use
Dill pickles work best for baked fried pickles because they have a bold, tangy flavor. Slices or chips are easiest to coat and bake evenly. For extra crunch, choose pickles that are firm and not overly juicy, these types are best to have with fresh salad with buffalo chicken, golden fried pork chops in air fryer, or orange chicken.
Your Easy-Peasy Guide to Make Fried Pickles Recipe
This baked fried pickles is a recipe you have to try making at least once. And even from the freezer they come out still perfectly tasty. It’s simple and perfect for snacking or serving at get-togethers.

Kitchen Must-Haves
- Bowls: Great for setting up your breading station, one for flour, one for eggs, and one for coating.
- Parchment Paper: Keeps pickles from sticking to the tray and makes cleanup a breeze.
- Baking Tray: Holds your breaded pickles in place so they cook evenly.
- Oven: Delivers a crispy, golden finish without the need for deep-frying.
Grab these Ingredients
- Coconut Flour: A light, gluten-free coating that gives the pickles a subtle sweetness and helps the breading stick.
- Mini Pickles: Bite-sized, tangy, and perfect for snacking without the mess.
- Egg: Works as the binder to hold the coating together and give that golden finish.
- Breading: The crunchy outer layer that makes each pickle crispy.
*Exact measurements are listed in the recipe card below.
Step-by-Step Procedure to Make Crispy Fried Pickles
First: Gather and Prep
Collect all your ingredients: pickles, coconut flour, eggs, breading mix, and seasonings. Drain the pickles well so they don’t get soggy while baking. Preheat your oven to 400°Fahrenheit (200°Celsius) so it’s ready when you are.

Second: First Light Coat
Dust each pickle slice with coconut flour, covering all sides without making it too thick. This layer gives the egg something to hold onto later. Press gently so the coating stays in place.

Third: Egg Bath
Crack and beat the eggs in a bowl to create your wet coating. Dip each floured pickle into the egg to fully cover it. This helps the breading layer cling perfectly.

Fourth: Final Crunch Layer
Roll the egg-coated pickles into your breading mix. Press lightly to ensure the coating sticks all over. Repeat until all slices are coated and ready to bake.

Fifth: Bake to Perfection
Arrange the coated pickles on a parchment-lined baking sheet. Bake for 10 minutes, flip, then bake another 5 minutes until golden and crisp. Serve right away with your favorite dipping sauce for maximum crunch.

Handy Tips for Tasty Wins:
- Dry the pickles well: Pat your pickle slices with paper towels before coating them. This keeps the breading from getting soggy while baking.
- Use a wire rack: Baking on a rack allows heat to circulate around the pickles. This helps them get crispy on all sides without flipping.
- Don’t skip the seasoning: Mix a little garlic powder, paprika, or pepper into your breading. It gives the pickles extra flavor in every bite.
- Serve right away: Baked fried pickles taste best fresh from the oven. Waiting too long can make them lose their crunch.
Your Questions, My Answers
What are the Pairings to Serve Fried Pickles with?
Fried pickles go well with creamy dips like ranch from homemade ranch seasoning, orange sauce, or blue cheese. You can also serve them alongside stuffed zucchini or sandwiches. They make a great appetizer for parties or game day snacks.
How to Store the Best Fried Pickles?
Store leftover fried pickles in an airtight container in the fridge. They stay good for 2–3 days when kept cold. Reheat them in the oven or air fryer to bring back some crispiness.

Freeze baked pickles on a baking sheet first to keep them separate. Once frozen, transfer them to a freezer-safe bag or container. They can last up to 2 months, and you can reheat them in the oven or air fryer when ready.
More Stress-Free Recipes You’ll Love
Want easy and tasty recipes you can enjoy at home? Try baking a soft and fluffy French brioche bread that’s perfect for breakfast or snacks. Add a touch of sweetness with apricot preserves, which makes any snack or dessert special.
For a hearty meal, broccoli and bacon casserole is full of flavor and easy to cook. These recipes are simple, fun to make, and great for family meals or small gatherings.
Pin and Come Back Anytime
Need Support or have Questions? Join us on Facebook.
Follow us on Pinterest, Instagram, TikTok, Flipboard, or YouTube.
For weekly New Recipes and a FREE E-Book get into our NEWSLETTER.
Get the Printable Version
Show Some Love with a 5-Star Rating

Baked Fried Pickles
Equipment
- 1 Bowls
- 1 Oven
Ingredients
- 1/2 Cup Coconut Flour
- 15 Pieces Mini Pickles whole
- 1 Piece Egg
- 1 Cup Breading
Video
Instructions
- Collect pickles, coconut flour, eggs, and breading mix, drain the pickles well, and preheat oven to 400°Fahrenheit (200°Celsius).
- Dust each pickle slice evenly with coconut flour, pressing gently so the thin coating sticks.
- Beat eggs in a bowl and dip each floured pickle to fully coat, creating a sticky surface for the breading.
- Roll egg-coated pickles in the breading mix, pressing lightly so the coating adheres well on all sides.
- Arrange coated pickles on a parchment-lined baking sheet, bake 10 minutes, flip, and bake another 5 minutes until golden and crisp; serve immediately with dipping sauce.
Notes
- Dry the pickles well: Pat your pickle slices with paper towels before coating them. This keeps the breading from getting soggy while baking.
- Use a wire rack: Baking on a rack allows heat to circulate around the pickles. This helps them get crispy on all sides without flipping.
- Don’t skip the seasoning: Mix a little garlic powder, paprika, or pepper into your breading. It gives the pickles extra flavor in every bite.
- Serve right away: Baked fried pickles taste best fresh from the oven. Waiting too long can make them lose their crunch.
Nutrition
Disclaimer
Please note that nutrient values are estimates only. Variations can occur due to product availability and manner of food preparation. Nutrition may vary based on methods of origin, preparation, freshness of ingredients, and other factors.
check out other sides you can make
Add more side dishes you can pair with your meals to keep things interesting and balanced. From fresh salads to warm veggies and mash, these options work with just about any main dish.